– How to use the EchoTechOilcheck Oil Tester
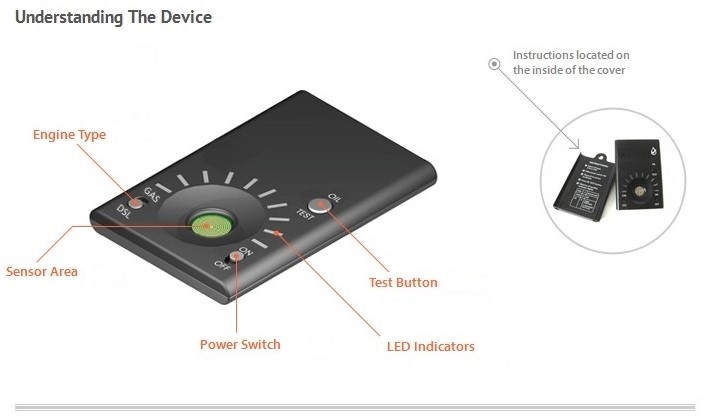
How to use the EchoTechOilcheck device
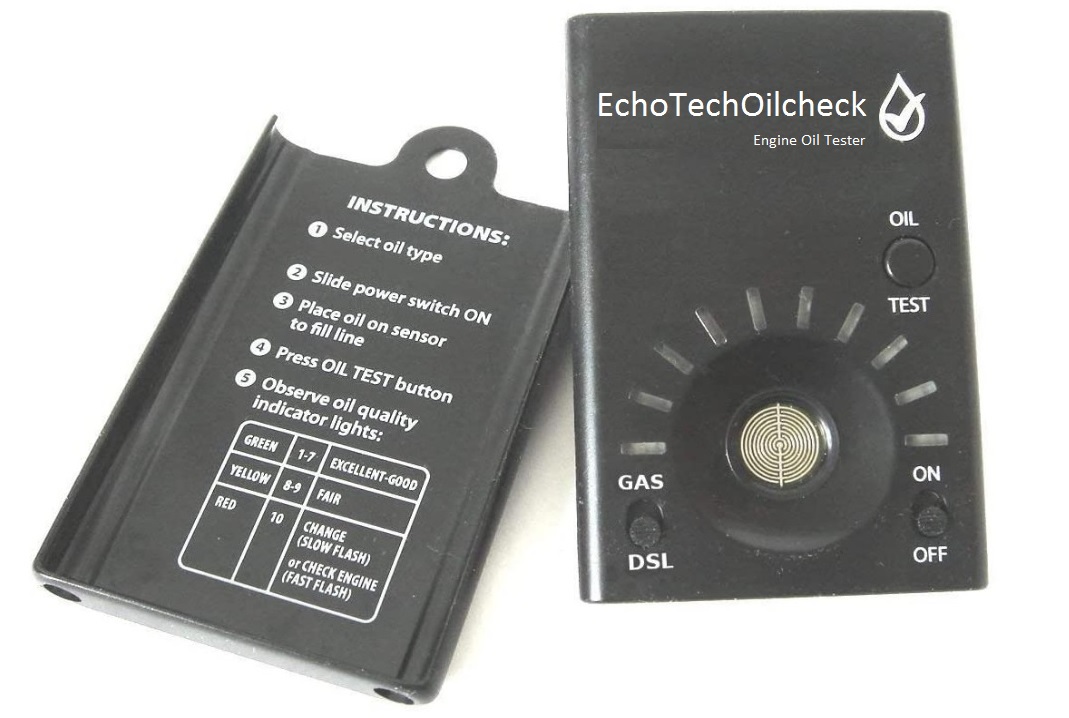
Operational Instructions
Step – 1
Select ‘GAS’ if testing a gasoline engine, or ‘DSL’ when testing a diesel engine
Step – 2
BEFORE placing oil on sensor, place EchoTechOilcheck on level surface and slide switch to ON. Wait 5 seconds for calibration. (#1 & #10 LEDs will flash)
Step – 3
Using dipstick, place several drops of oil into the sensor cup, to the top of the fill ring.
Step – 4
Press the TEST button once. Do not hold down.
Step – 5
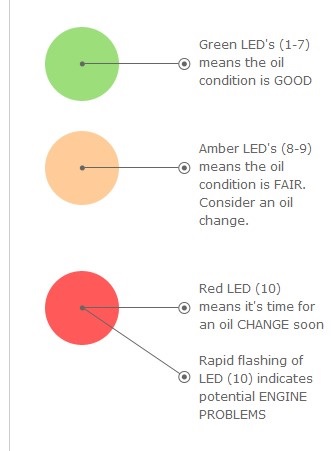
Indicator LED color and number will indicate the quality of oil. Record results and mileage for your records*. *Record your results. A regular record may be very useful in detecting developing problems.
Step – 6 Slide switch to ‘OFF”, and thoroughly remove oil, preferably with a cotton terrycloth or cotton rag. Final clean with a microfiber towel, or SOFT toilet tissue. Caution: Any oil left on the sensor will influence the next test by showing a 7-8-9 LED ‘dirty sensor’ error signal, or simply an inaccurate reading. If in doubt, moisten soft tissue or microfiber with a few drops of gasoline or preferably naphthar on final cleaning to dissolve all leftover oil.