Sales in the USA
The EchoTechOilcheck engine oil test device can be bought in the USA from a few websites. Please find below the link to the listings:
Buy the EchoTechOilcheck on Amazon.com
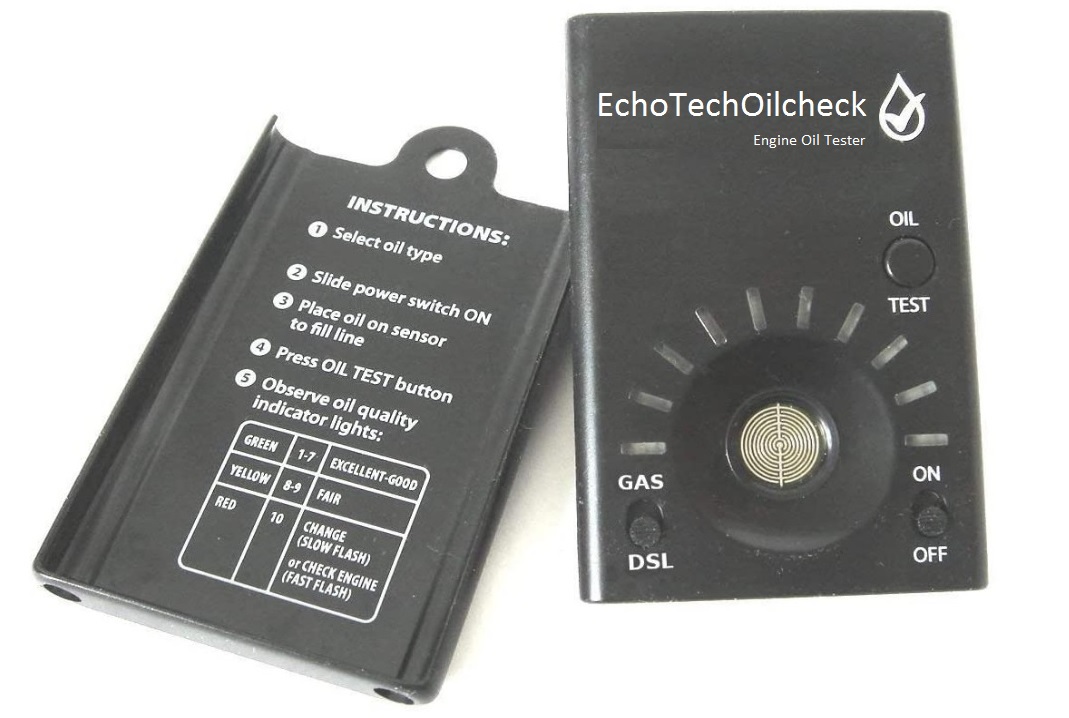
Historically the EchoTechOilcheck engine oil test device was sold as the Lubricheck on Amazon.com. Please find below a snapshot of the old listing:

Reviews with images
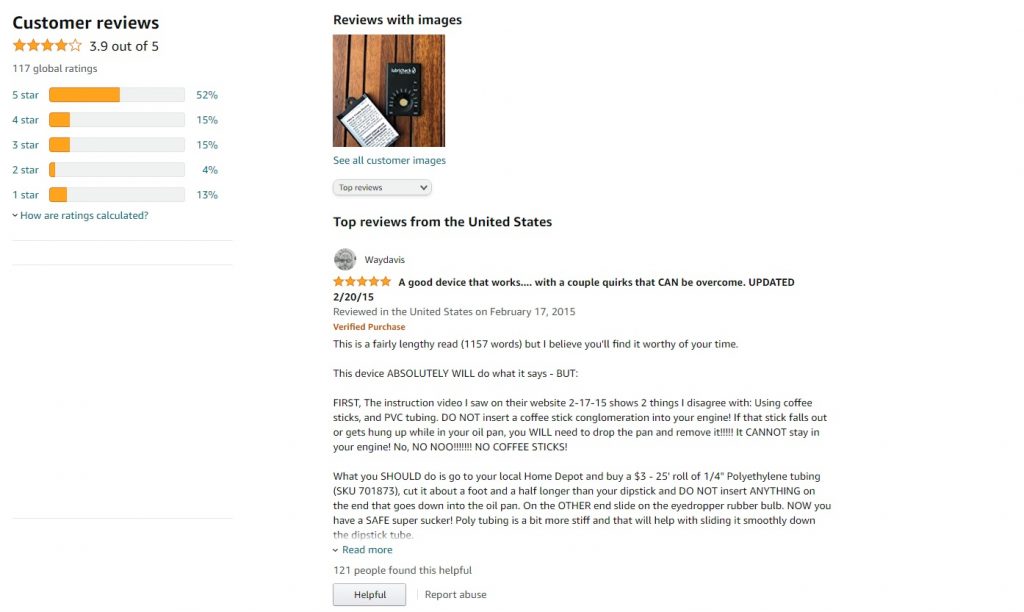
Top reviews from the United States
Reviewed in the United States on February 17, 2015
Verified Purchase
This is a fairly lengthy read (1157 words) but I believe you’ll find it worthy of your time.
This device ABSOLUTELY WILL do what it says – BUT:
FIRST, The instruction video I saw on their website 2-17-15 shows 2 things I disagree with: Using coffee sticks, and PVC tubing. DO NOT insert a coffee stick conglomeration into your engine! If that stick falls out or gets hung up while in your oil pan, you WILL need to drop the pan and remove it!!!!! It CANNOT stay in your engine! No, NO NOO!!!!!!! NO COFFEE STICKS!
What you SHOULD do is go to your local Home Depot and buy a $3 – 25′ roll of 1/4″ Polyethylene tubing (SKU 701873), cut it about a foot and a half longer than your dipstick and DO NOT insert ANYTHING on the end that goes down into the oil pan. On the OTHER end slide on the eyedropper rubber bulb. NOW you have a SAFE super sucker! Poly tubing is a bit more stiff and that will help with sliding it smoothly down the dipstick tube.
MOST vehicles can accommodate 1/4″ tubing. If YOURS chokes down to a smaller size blocking the tubing from going INTO the pan: I did a Amazon search for you folks and DID find 1/8″ O.D. tubing. Search for “Clear NSF-61 Polyurethane Tubing, 0.063″ ID, 0.125″ OD, 0.031″ Wall, 25′ Length” It has a max temp of 185 so extract from a cool engine to ensure you don’t melt or deform the tubing. Remember, the rubber bulb will NOT fit properly if you use 1/8 OD tubing. You’ll need to get “creative” on the bulb side of the tubing to remedy that.
2 things that require “finesse”
A: Proper cleaning
B: Repeatable loading of oil into the sensor ACCURATELY.
I cannot stress enough the importance of cleaning it properly. There is YOUR version of clean, and what clean REALLY is. (I) use the following:
1.) Naptha – a fast drying thinner for oil-based paints which is perfectly safe for the device AND does a SUPERB job of cleaning. (Home Depot has it in their paint dept)
2.) Canned “air” – I use it to GENTLY blow the unit out as part of the final cleaning step ensuring there is no oil trapped along the seal between the sensor and the seal around it. GENTLY use – Don’t go at it like a ham-fisted Gorilla! You don’t want to force oil INTO the tester under the seal!
3) Decent Toilet Paper (MUST HAVE)
4) Q-Tips – for cleaning with naptha. NOT as effective as TP, but they have a place in this procedure.
5.) A glass eyedropper – Search Amazon for “1 Dram CLEAR Glass Vial – Dropper – Pack of 12” Remove the plastic threaded CAP assembly and use only the bulb and glass tube otherwise you WILL damage the rubber. The bulb will be temporarily placed on the Poly tube to extract your sample, Then used back on the eyedropper for putting the oil into the tester AND sucking it back up, returning it to your sample jar. Makes cleaning much less messy, easier AND if you keep a large enough sample of oil that reads high, you’ll have a “reference” sample to check the unit out periodically AND LEARN to properly clean the device consistently.
6.) Clear Glass Vials – for holding samples –> Search Amazon for “Glass Vials, ½ Dram, Pack of 12” and/or “Glass Vials, 1 Dram, Pack of 12” I find the ½ dram vials to be perfect.
If you are impatient, you WILL fail and it WILL be YOUR fault, not the tester. This is a precision test device that requires a “sample” be placed on a sensor. That sample must be exactly repeatable for repeatable accurate results and IT IS POSSIBLE to achieve this! In MY case, that sample is SIX DROPS of oil from a eyedropper whose glass section is 2 5/8″ long by 9/32″ wide. It is PERFECT. The important bit is the 9/32″ width . In MY case, those 6 drops are exactly the right amount.
When (I) clean the unit I do the following with FRESH TP/ Q-TIPS EVERY STEP.
1.) Suck all the oil back out of the sensor area with the eyedropper and put it back into your sample jar.
2.) Get some Naptha on a piece of TP and clean the sensor.
3.) Get some Naptha on a new piece of TP and clean the sensor.
4.) Get some Naptha on a new piece of TP and clean the sensor again! DON’T skip these steps!
5.) Clean the sensor with dry TP.
6.) Spray-air the sensor, see if any oil shows up. If NONE, then you can stop. If there is ANY oil, ( It will look shiny) repeat starting at step 4.
I know what you’re thinking.. Good gosh, all that? Well, your results are only as good as your prep. You NEED to and CAN do tests properly.
Folks, there’s no other device remotely close to this price that does what THIS device does. It’s truly UNIQUE, affordable, and accurate when used properly.
And now, the money-shot:
I had actually called the company wanting to return the device because it was registering 1’s on every sample after the 2nd time I used it. It did this on multiple vehicles as well as a re-test of the original first vehicle I tested which previously had shown a 4.
I thought it was broke.
I called up the company that makes them. The man I spoke with told me about using naptha for cleaning and that more often than not, people NOT properly cleaning the unit properly is what is wrong. I was thinking what a bummer that this thing doesn’t work, it’s so cool and (I) like saving money! I decided to follow his advice and do as he said. HE WAS 100% RIGHT!!!
I used the cleaning method I’ve detailed above.
I used exactly SIX drops with NO air bubbles from the same primary oil sample.
After 13 consecutive tests on the same primary oil, I got the following results: 7,8,8,10,8,8,8,7,9,9,9,8,7
The 10 occurred when I cut corners and skipped steps while cleaning, so that sample is discarded. With the remaining results, the “good” samples averaged to 8.0. This proves their claim of 10% error per sample AND that results within that range ARE repeatable. Ya, it’s not peel-a-Banana quick and does require effort. Based on my results testing 3 vehicles using Full-Synthetic 15k Oil, I figure it will save me OVER $200 a YEAR! I was in fact changing mine too soon!
YOU should be able to repeat these steps NO problem. (I) did the hard part refining this procedure and writing this review 😉 Leave feedback if this has helped you 🙂
Good luck to all and just be patient and LISTEN to what I’ve said!
4.0 out of 5 stars Skeptical at first but happy I made the purchase
Reviewed in the United States on February 24, 2014
Verified Purchase
As there were no reviews on this, I was a bit skeptical. It’s a great idea and a wonderful way to save some money by being able to test your oils and not change them prematurely. I tested my car, truck, and generator and feel confident that I know the condition of the oils, where as before I had no idea.
The only issue I had was getting the required amount of oil out of the car so I could test it. I imagine you could use a suction hose, or like I did…just keep dipping the dipstick and putting a small amount at a time on a piece of plastic, taking it inside to warm to room temperature as stated in the instructions, (60-70 degrees) and then test it after pouring the small collected ammount from the plastic to the sensor.
26 people found this helpful
5.0 out of 5 stars Don’t Ruin Your Engine!
Reviewed in the United States on April 29, 2017
Verified Purchase
Serious flaw!
The most important measurement of your oil is viscosity. This does not test viscosity, and the inventor honestly admits that.
I compared a sample from my car, using refrigerator water tubing, and compared to new oil on metal sheet: tremendous viscosity difference even
though Lubricheck test was perfect.
Old oil much slower pouring down sheet!
It’s all about the viscosity which breaks down especially with conventional oil.
I recommend using synthetic oil at least once a year for low use car, and use the Lubricheck monthly after the first six months.
Lubricheck is still a great tool in extending oil changes and diagnosing engine failure.
Remember, oil is cheap, engines are expensive.
9 people found this helpful
Reviewed in the United States on October 14, 2017
Verified Purchase
This thing could save your marriage, relationship, & restore your family tree!
If you are the person responsible for the oil changes in the family you know how it goes: Maintenance light comes on, the world is going to end, my car is going to die, I’m going to be stranded on the side of the road in the middle of Nowhere, Arizona with 110F heat.
But guess what. All you have to do is pull out this little gizmo, drop some drips of oil and show them, see the oil is fine.
We’ve been using Blackstone for our cars but that still does not convince my wife that it’s okay to go 6K or even 8K on the oil, even tho the Blackstone report comes back recommending such. They are a far off lab and she has no idea what/who they are.
But a little gizmo with flashing lights? Now that’s the word of god. 😉
It’s not cheap, but within 2 years you will easily pay for it in skipped or extended oil changes.
And I have really tested it. New out of the jug oil, 24 hour old oil, even 12K oil. It’s been very accurate. ie, new oil is bright green, 24 hour old oil is step 1 green. 12K oil is a 9 yellow.
And if you have a fleet of vehicles this thing will pay for itself the first year easy.
4 people found this helpful